
You’re probably familiar with chandeliers, but have you considered adding a ceiling medallion to spruce up your home’s look?
What Is a Ceiling Medallion?
Once all the rage in the early 1800s, ceiling medallions are decorative ceiling ornaments that come in a variety of shapes and materials. Despite their ornate appearance, ceiling medallions tend to be a relatively affordable decor option. They can also be particularly helpful in hiding any unsightly lighting ceiling boxes. Although these beautiful additions are not lighting fixtures, they can provide that extra touch of elegance your space may be needing!
Installation and Safety
Although it’s possible to install a ceiling medallion yourself, it’s critical that you follow important safety guidelines to prevent injury. This is especially important if you intend to install the ceiling medallion in addition to your lighting fixture.
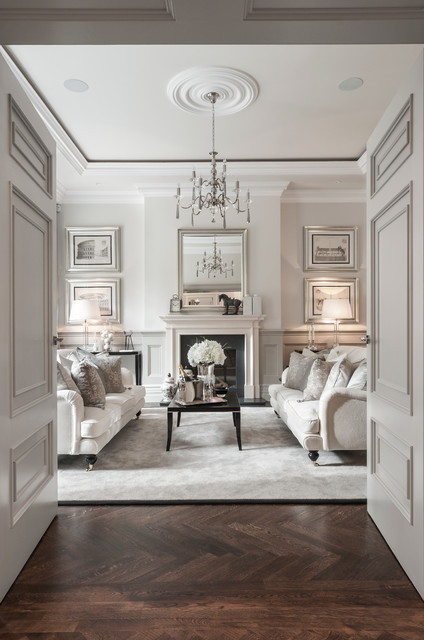
Photo source: Alexander James Interiors
For more details about safety instructions, we recommend you read the safety instructions included with your medallion, lighting fixture, and other general medallion safety guidelines. In particular, you’ll need to make sure your chandelier is well supported as the medallion will not provide any weight stability. If you are unfamiliar with these guidelines, it might be best to consult with a professional electrician for additional guidance.
Pro Tip: You can still enjoy the convenience of an Aladdin Light Lift with a ceiling medallion, but you’ll need a ceiling medallion with at least a 4.5″ hole!
Step 1: Assess Your Space
For maximum benefit, you’ll want to make sure you choose not only the right size medallion but also the right design for your unique space. Need help finding some affordable ceiling medallion ideas? Check out one of our previous blog posts to see some of our budget-friendly favorites!
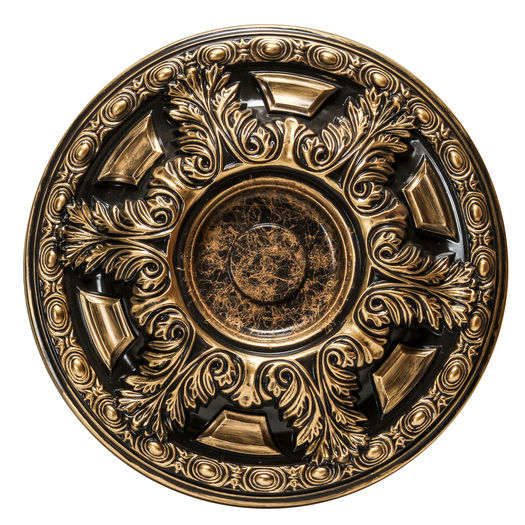
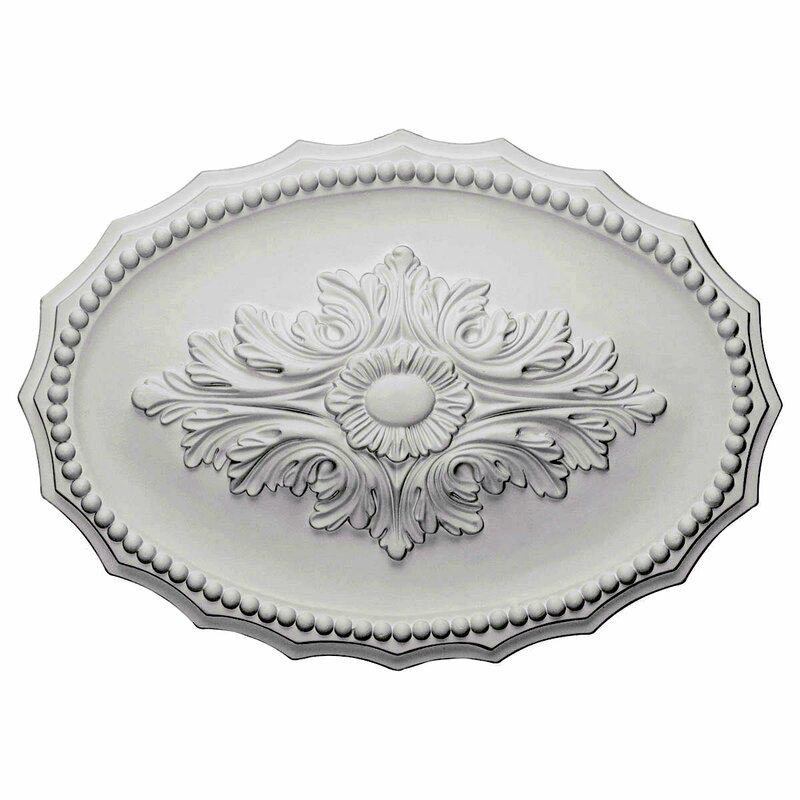
When selecting your medallion, be sure to consider the size, color, finish, shape, and overall unity within the space. The medallion is meant to complement your space, not overpower it or distract from it. If installing a chandelier with the ceiling medallion, pay special attention to the chandelier that the medallion will be paired with to ensure they flow well together. Some popular ceiling medallion shapes include round, oval, and square.

Step 2: Gather the Essentials
For a seamless installation, you’ll need to pick up a few items from the hardware store. Sarah from roomfortuesday.com recommends collecting some caulk, a finishing nailer, filler, sandpaper, and longer screws. You may also want to grab a sturdy ladder at the height you will need to access your ceiling comfortably. You’ll also, of course, need your new gorgeous ceiling medallion and light fixture.
Step 3: Start Installing
Start with a fresh canvas. Safely take down any existing lighting fixtures that may occupy the space you intend to place the medallion. Carefully apply your caulk to the underside of the medallion and, using the ladder, place the medallion where you would like it.
At this point, you’ll want to make sure you’ve reviewed the instructions and safety guidelines included with your light fixture. Using these directions, begin rewiring your chandelier. Push the wiring back into the housing and use the longer screws to begin installing the fixture’s hardware.
Have questions about installing your chandelier with your Aladdin Light Lift? Check out our YouTube Channel for some helpful videos!
Feel like your medallion has shifted or is no longer in the right place? Don’t worry. That’s part of the reason Sarah recommends using caulk instead of construction adhesive so that you have the ability to readjust, as needed.
Use this time to make sure the medallion is perfectly centered around the lighting fixture foundation.
Once all the hardware is secure, you get finally start installing the chandelier. For added security, you can include some extra finishing nails around the sides of the medallion.
Using the filler, fill in any nail holes you may notice. You can also use sandpaper to even out the filler.
That’s it! Now sit back and enjoy your beautifully styled space.
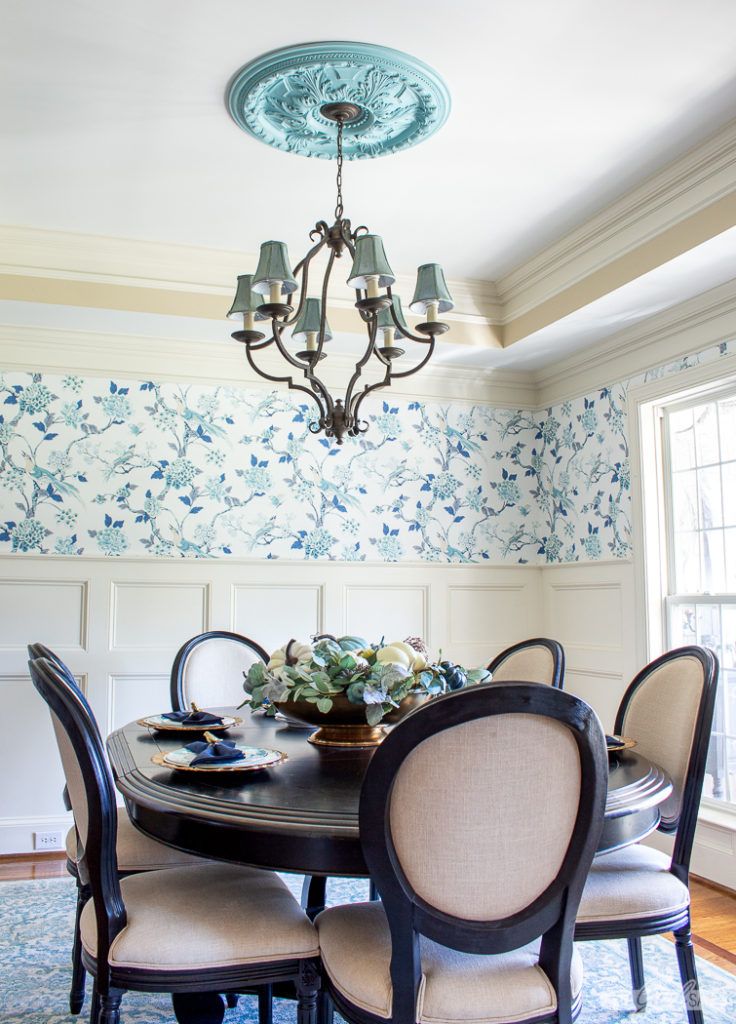
Photo source: Atta Girl Says
Conclusion
When your chandelier needs an extra pop, adding the right ceiling medallion can make a huge difference! Although installing a ceiling medallion yourself is possible, we always recommend reading through the included safety instructions provided with your medallion and your light fixture to ensure you are installing both correctly and safely.
We love ceiling medallions because they can be an easy and affordable option to add some flavor to your favorite space. We especially love the ceiling medallions with a 4.5″ hole or greater so that you can also enjoy your Aladdin Light Lift!
Find the right lift for your chandelier with our user-friendly quiz today!